Ubiquiti WiFi gear is becoming well known as the go to brand for nerds wanting to have home WiFi that competes with commercial set ups. The Ubiquiti AC-PRO access points in particular are in the category of “next level” consumer gear, and after installing them i’ve never looked back. Being commercial gear the Ubiquiti APs do have one annoying requirement: you need to run controller software on your network to monitor and control the access points through Ubiquiti’s cloud based controller software. Luckily you can run this software on a range of hardware – and a $35 Raspberry Pi is just the ticket.
When I first setup my Ubiquiti Access Points I setup a VirtualBox host on my home server to run the Ubiquiti controller software on Ubuntu. This has been a nice way of running the software without paying $79 for a Ubiquiti Unifi Cloud Key, but it does mean you’ve got to run an extra host whenever you’re administering your access points.
A Raspberry Pi is an awesome replacement for a virtual machine, and isn’t as pricey as a Cloud Key. Geeking out aside, another bonus is that you can also run other stuff on your Raspberry Pi at the same time when you’re done.
Prerequisites
The migrate a controller host onto a Raspberry Pi you’ll need a few things first.
- Raspberry Pi – $35
- Samsung 32GB SD Card – $12.99
- SB Components Case – $4.99
Setting up the Raspberry Pi
The first thing you’ll want to do is download the lastest version of Raspbian from the Raspberry Pi site:
https://www.raspberrypi.org/downloads/raspbian/
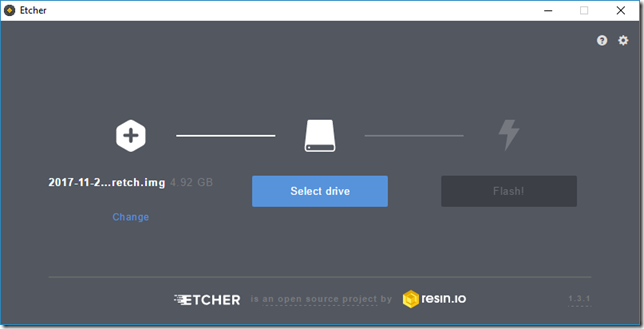
Next you can download software to flash Raspbian onto your SSD:
Run this, and flash it onto your new SSD
Configuring Raspberry Pi
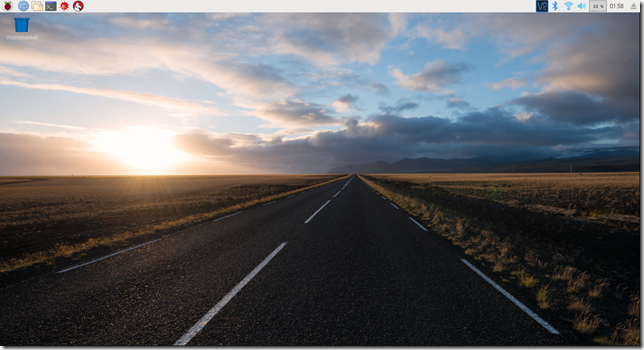
Plug in your Raspberry Pi and start it up.
Connect to your local network or wifi and fire up a terminal session to update the OS.
sudo apt-get update
sudo apt-get upgrade
Now we’re ready to setup the Ubiquiti software.
Installing the Ubiquiti software
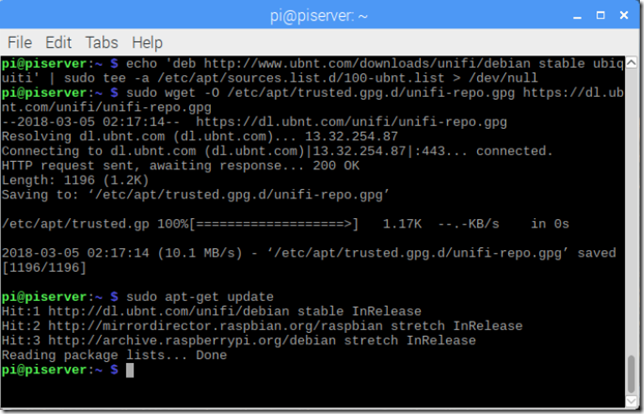
First we need to add the Unifi package list to the Raspberry Pi.
echo 'deb http://www.ubnt.com/downloads/unifi/debian stable ubiquiti' | sudo tee -a /etc/apt/sources.list.d/100-ubnt.list > /dev/null
sudo wget -O /etc/apt/trusted.gpg.d/unifi-repo.gpg https://dl.ubnt.com/unifi/unifi-repo.gpg
sudo apt-get update
Now what we need to install is the Oracle Java8 runtime, along with the Ubiquiti software. Ubiquiti really only needs the JDK, so if you install just the JDK at the same time as the Ubiquiti controller software, apt-get will figure out that you don’t need the full Java runtime.
Again in the terminal, type the following;
sudo apt-get install unifi oracle-java8-jdk –y
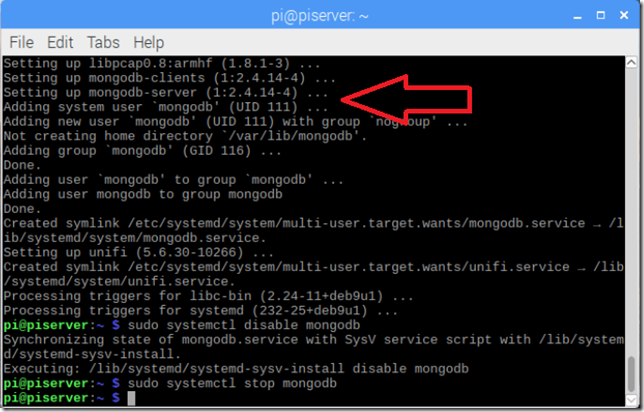
Finally, when installing the Unifi controller software, you might notice in the screenshot above you also end up installing MongoDB. We don’t want that running on your nice clean (and resource constrained) Raspberry Pi. So let’s disable this from starting at boot time. The Unifi controller software runs it’s own instance of Mongo when it starts up, so you don’t need this running as well.
sudo systemctl disable mongodb
sudo systemctl stop mongodb
Now let's login to the controller via the local host on the machine .
Setting up the new controller and migrating
The Unifi Cloud Control software works in a pretty cool way. Basically it watches your network for devices, and then reports these back to the cloud based Unifi service. This means you can then control your home network from the cloud without needing to punch holes in your firewall.
First off, visit your Raspberry Pi’s controller software by visiting the Unifi software’s port.
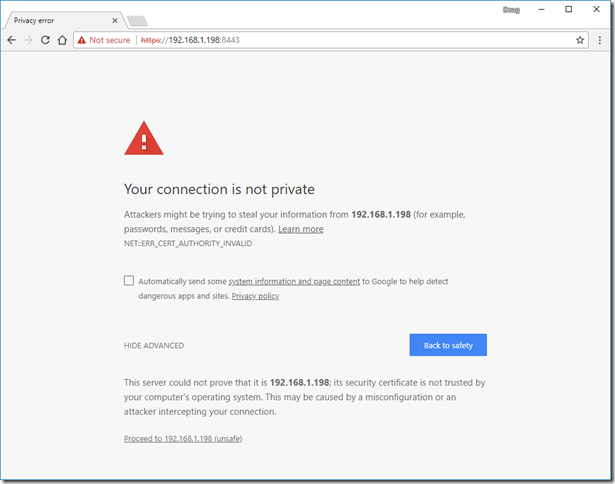
My Raspberry Pi has taken up the IP address of 192.168.1.198 so i’m going to visit it from another machine on the network on the TCP post 8443
I’m using Chrome, which throws a security warning, as the default Ubiquiti controller software doesn’t have a commercial SSL certificate attached. Select to Proceed.
You’ll then be asked to setup the controller’s backup and timezone settings.
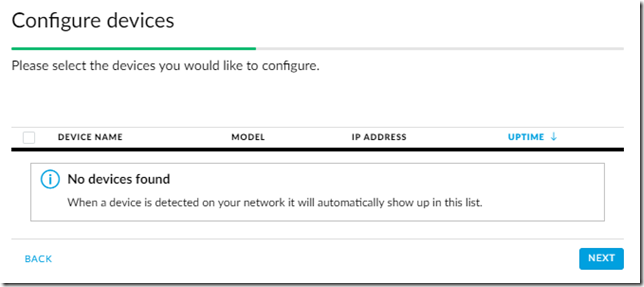
Then skip through the device setup screens as they’ll be no devices for adoption (they’re all already managed).
Next, you can setup an access point for your new Unifi access controller site (we’ll overwrite this later).
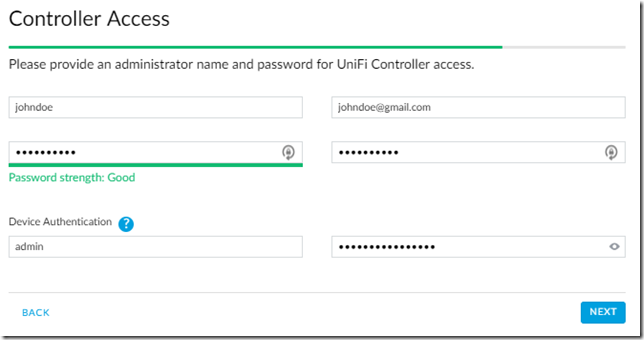
Now configure your administrator access credentials.
Confirm everything on your new controller’s configuration.
Now the Ubiquiti software asks you to login to your UBNT account so it can add the new Raspberry Pi controller to your account.
Now that you’ve logged in, your new Raspberry Pi controller can be accessed at any time from https://unifi.ubnt.com – nice!
Now we’ve got to migrate your current access points over the new controller.
Migrating Unifi Access Points
The next step is you’ve got to migrate the access points you have today to the new Raspberry Pi controller.
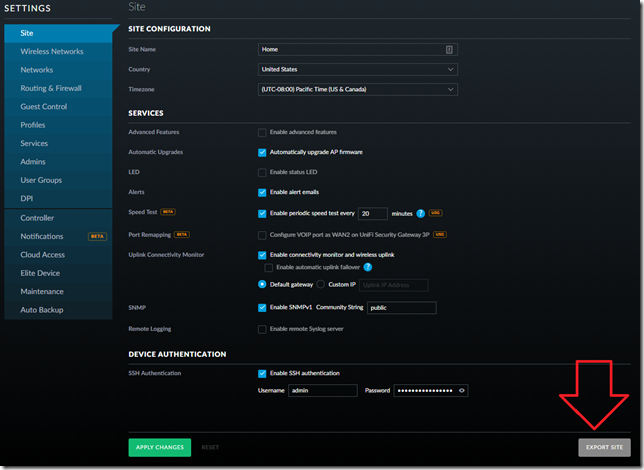
Firstly we want to export the site from the current controller. Login to the current (soon to be deprecated) controller and open up the settings screen for the site you want to migrate (the one that has the access points in it).
In the bottom of the site settings screen you’ll notice an “export site” button. Press this and save the file locally.
Now in a separate tab login to your new controller and visit the “Sites” screen. We’re going to import the site into your Raspberry Pi controller.
Give the new site you’re importing a name.
Now shift back to your old controller’s tab and finish migrating the access points to your new controller by entering your new controller’s IP address.
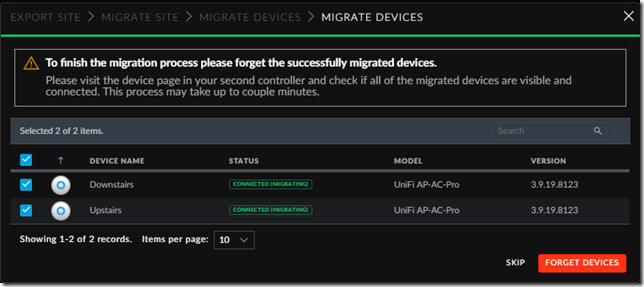
In the next screen you’ll want to forget the devices on your old controller.
And that’s it, you’re now done! Your Raspberry Pi is now acting as a controller for your Unifi network.







Comments